
How to Grow Potatoes: From Seed Potato to Harvest
Plant certified seed potatoes once soil reaches 50°F — not on a calendar date — and commit to hilling the stems two or three times as the season progresses. Those two practices account for more failed potato crops than anything else in the home garden.
How it works
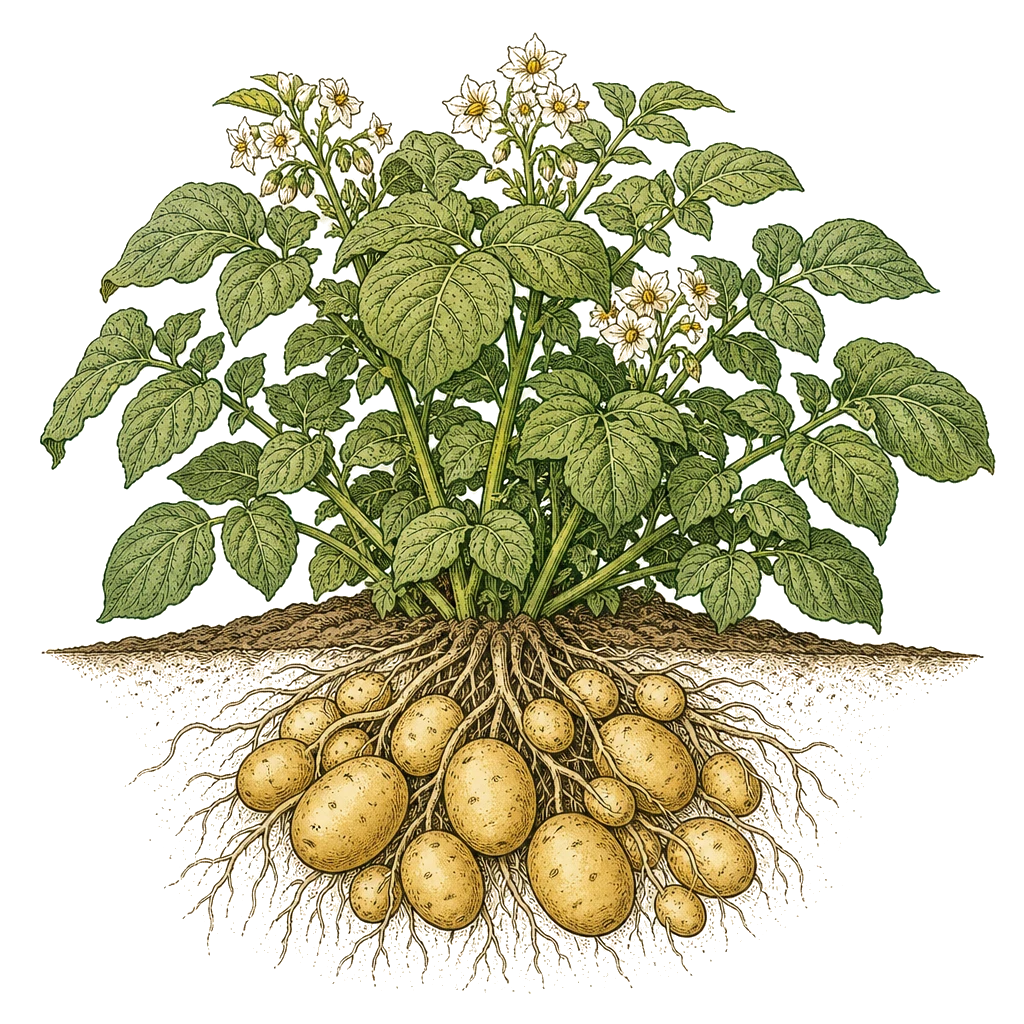
Potatoes grow from tuber pieces, not true seeds. Each piece carries energy reserves in its starchy flesh; the eyes (dormant buds) send up shoots while roots establish below. This is why planting material matters more than it does with most crops: grocery-store potatoes are treated with sprout inhibitors that suppress germination, and they carry fungal and bacterial diseases, including common scab, a pathogen that can persist in garden soil for years. Certified seed potatoes are inspected for these pathogens. University of Minnesota, University of Maryland, Clemson, and Iowa State Extension all treat certified seed as non-negotiable.
Tubers form along the buried stem, not on the roots. Each time you mound soil around the base of a plant, you bury more stem and create more surface area for the crop to set new tubers. Any tuber exposed to light turns green as chlorophyll develops. That green tissue contains solanine, a bitter and mildly toxic compound, so preventing greening is a quality and safety issue, not a cosmetic one. If you find green skin or flesh on a potato, cut it away generously — at least 1/2 inch past the green margin — and discard any potato that is more than lightly greened, since cooking does not destroy solanine.
Around flowering, the plant shifts from building foliage to setting tubers, splitting the season into two distinct phases: a vegetative period that establishes roots and leaf mass, and the tuber-set phase that follows. Drought or heat stress during tuber set produces hollow heart (an internal cavity) and knobby, misshapen tubers. Consistent moisture from flowering onward is more critical than anything you do earlier in the season.
What to do
Select and prepare seed potatoes. Buy certified seed potatoes and cut large ones into pieces of 1.5–2 oz each — roughly the size of a large egg — with at least 2 eyes per piece. Small, egg-sized tubers can go in whole. Spread the cut pieces in a single layer and cure them at room temperature for 3–5 days before planting. The cut surfaces form a dry, corky seal during this period that resists rot once the pieces are in the ground.
Plant when the soil is ready. Check soil temperature at a 4-inch depth and wait for 50°F. Soil below 45°F combined with wet conditions causes seed piece decay; a calendar date alone won’t tell you that. Dig trenches or individual holes 4–5 inches deep, place each piece cut-side down with the eyes pointing up, and cover with 3–4 inches of soil. Space pieces 12 inches apart, with rows 24–36 inches apart.
Hill on schedule. When shoots reach 6–8 inches above the soil surface, mound 4–6 inches of soil around the base of each plant, burying roughly half the exposed stems. Repeat this 2–3 times across the season as the plants continue to grow. Any tuber that breaks the soil surface will green within a few days of light exposure, so consistent hilling is not optional.
When you track potatoes in Arbor, the app puts a hilling reminder on your task list as plants approach that 6–8 inch window and again later in the season — useful because the growth spurts that trigger hilling often arrive faster than expected.
Water and fertilize. Potatoes need about 1 inch of water per week. Water at the base of plants only; overhead watering promotes foliar disease. In clay soils, reduce watering frequency and monitor drainage carefully. When temperatures exceed 85°F, water to about 1.5–2 inches per week to prevent moisture stress during tuber set.
Side-dress with a granular nitrogen fertilizer about 4 weeks after planting. University of Minnesota Extension recommends 0.15 lbs of actual nitrogen per 50 feet of row, incorporated into the soil while you hill. After the plants begin to flower, stop adding nitrogen — high nitrogen at tuber set drives foliage at the expense of tubers. Avoid liquid fertilizers throughout; they raise rot risk.
Harvest on two timelines. New potatoes are ready 7–8 weeks after planting, just after the plants first flower. Dig a few carefully and use them fresh; they won’t hold in storage. For storage potatoes, wait until the vine tops die back completely on their own — for maincrop varieties, that is 90–120 days from planting. Michigan State Extension notes that naturally collapsed tops are the most reliable harvest cue, more dependable than any date on a calendar.
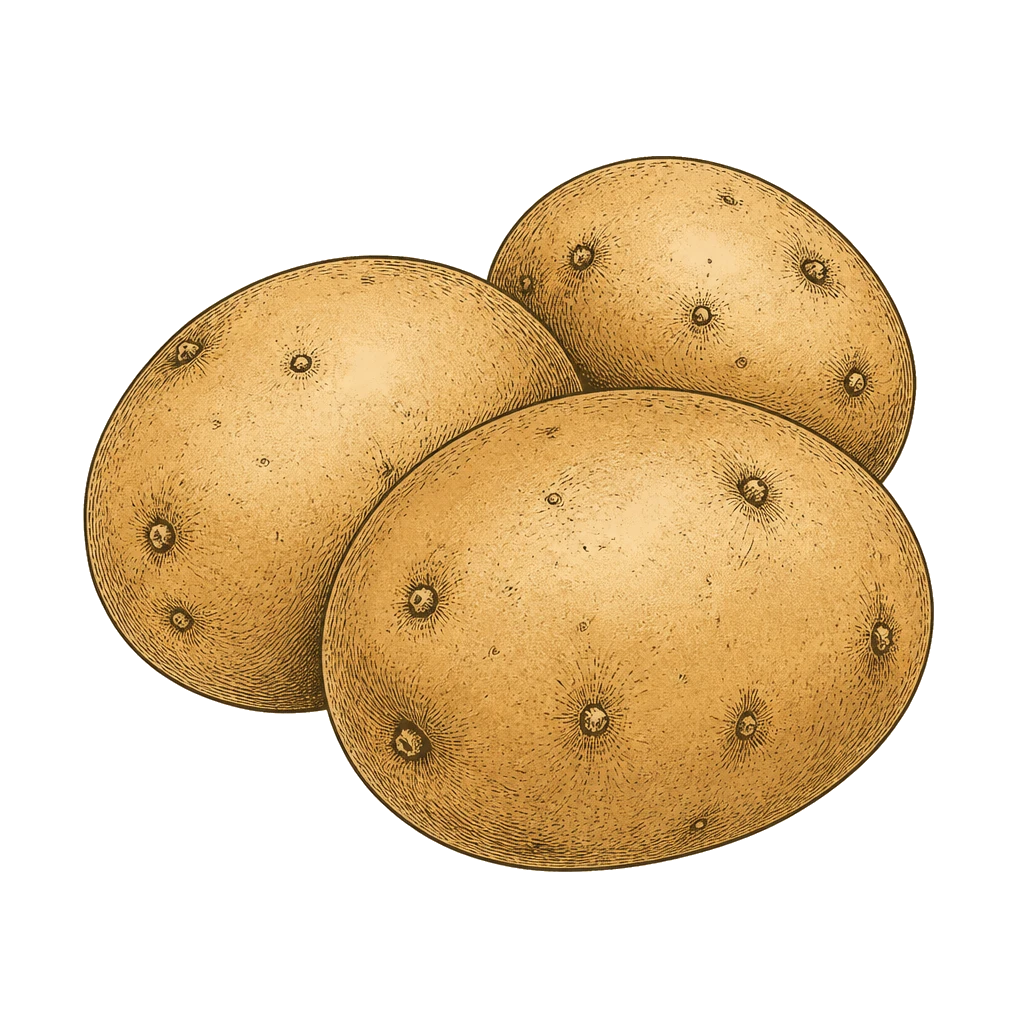
Cure before storing. After digging, cure potatoes at 45–60°F with 85–95% relative humidity for 10–14 days. Minor skin wounds heal during this period through a process called suberization, which dramatically extends shelf life. Properly cured potatoes keep 4–8 months in cool, dark storage. Do not carry these numbers over to sweet potatoes, which are a different crop entirely: they cure warm, near 85°F, and suffer chilling injury in the cold storage that suits potatoes.
Zone and season notes
Zones 3–5: Plant in April or early May once soil hits 50°F, typically 2–4 weeks before average last frost. Short seasons favor early varieties (Yukon Gold, Red Norland), which mature in 50–70 days, though maincrop types like Russet Burbank or Kennebec (90–120 days) are achievable with a prompt spring planting.
Zones 6–7: Plant March–April. In zone 7, a late-July planting timed to mature before hard frost can produce a fall harvest in October.
Zone 8: Plant January–March and aim to harvest before summer heat arrives. Tuber set stalls and misshapen yields rise when soil temperatures climb, so peak-summer planting is not worth attempting.
Zones 9–11: Treat potatoes as a cool-season crop rather than a summer one. In zones 9–10 you have two windows: a late-winter planting (January–March, harvested before summer heat) and a fall planting (September–November, harvested in spring). In zone 11, use only the fall planting. Either way, avoid the summer heat that causes hollow heart and poor yields.
Sources
- University of Minnesota Extension — Growing Potatoes in Home Gardens
- University of Maryland Extension — Growing Potatoes in a Home Garden
- Clemson HGIC — Potato
- Iowa State University Extension — Growing Potatoes in the Home Garden
- University of Nebraska–Lincoln Extension — Potatoes: Harvesting & Storage
- Michigan State University Extension — Homegrown Potatoes Tell You When to Harvest
- University of Georgia Cooperative Extension — Home Garden Potatoes