
How to Harden Off Seedlings
Start hardening off seedlings 7 to 14 days before transplanting — set them outside for 2 to 3 hours in a shaded, sheltered spot on the first day, then add more time and direct sun each day until they stay out around the clock. That graduated exposure turns soft, succulent indoor growth into the firmer tissue plants need to survive in open ground. Skipping the process causes wilting, brown leaf margins, and slowed growth — sometimes death.
How it works
Indoor conditions are nearly optimum: controlled temperature, consistent irrigation, filtered light, and no wind. That environment produces tender, fragile tissue. When plants move directly outside, the gap between indoor and outdoor conditions is severe enough to trigger what Michigan State University Extension calls transplant shock.
Several things fail at once. The leaf cuticle — the natural wax layer that limits water loss — is thin on indoor-grown plants and cannot protect against direct sun. Without hardening, leaves sunburn. The leaf pores (stomata) close in response to harsh conditions to conserve water, which also blocks photosynthesis and shuts down the transpiration that normally cools leaves, causing overheating. Cell walls carry little lignin, the woody compound that stiffens plant tissue, so stems snap easily. Wind even at moderate speeds can rip leaves; in sandy soils, the abrasion from blowing soil particles makes it worse. And the cells themselves hold a high proportion of freeze-prone water, a problem that matters as soon as a cold night arrives.
Hardening reverses all of this. The cuticle thickens, the proportion of freeze-prone water in cells drops, cell walls build up more lignin, carbohydrate reserves accumulate, and root development speeds up. There is a visible signal too: anthocyanins increase in shoots, and pink coloration in stems, leaf stalks, and veins means the plant is ready for field conditions.
What to do
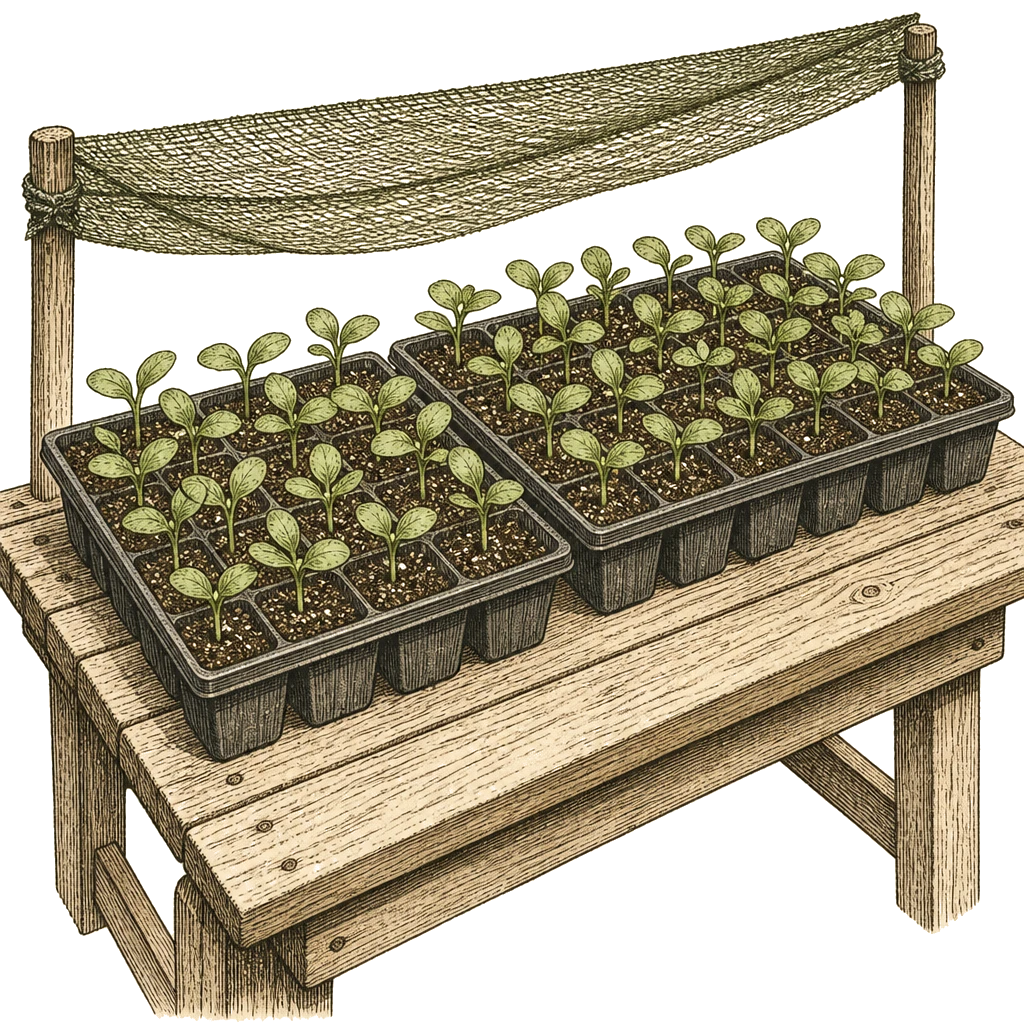
Days 1 and 2: Place seedlings in a shaded, protected spot outdoors on a mild or cloudy day for 2 to 3 hours. Shelter from wind matters as much as sun protection at this stage. Bring them back inside at the end of the period.
Following days: Add several more hours outdoors each day and move the trays gradually into direct sun. Seedlings still come back inside overnight through this stage; the all-night step comes later. Bleached patches or browning leaf margins mean you moved too fast, so step back to the previous day’s shade and hours before building up again. Work up to 10 to 12 continuous hours outside and hold there for several days before the final step.
Final 1 to 2 days: Leave plants outside continuously for 24 hours once overnight lows stay above the crop’s minimum — 60°F for tomatoes, peppers, and eggplant per Nebraska Extension, 50°F for cucumbers and melons per University of Maryland Extension. If they come through those final nights without wilting or damage, they are ready to transplant.
Throughout the process: Ease off on watering to slow growth, and check the soil in the trays before and after each outdoor session. Trays sitting in sun and wind dry out faster than they ever did indoors, and wilting is damage rather than the stress you are after. Do not fertilize before or during hardening. Fertilizing encourages the fast, soft growth you are trying to avoid.
If spring nights are unreliable: A cold frame — a low, bottomless box with a clear lid that holds daytime warmth while still letting in outdoor light — gives seedlings a middle environment, with outdoor light and some temperature swing but shelter from wind and cold snaps. Cold frames are one of the best hardening tools a home gardener can use.
When you log your seedlings in Arbor and mark when you started hardening, it generates a transplant-ready date on your task list so the 14-day countdown stays in view without requiring you to track it separately.
Once they are hardened: Transplant on a cloudy day or in the morning to reduce heat stress. Water them thoroughly before removing them from containers, and water again after planting. A phosphorus-rich fertilizer solution used right after transplanting helps root establishment.
Zone and season notes
Hardening starts 7 to 14 days before you transplant, not from your last frost date alone. A transplant date of April 5 means hardening begins around March 22, two weeks prior. Count back from your planned transplant date to set the hardening start. In cooler zones, that transplant date often falls weeks after last frost once overnight lows reach 60°F for warm-season crops and the soil has warmed.
Cool-season crops — cabbage, lettuce, spinach — tolerate temperatures into the 40s°F, which means they can stay outside overnight earlier in spring. Any tender seedlings should not be exposed outdoors below 45°F; bring them inside if a cold night is forecast.
Warm-season crops need overnight temperatures above 60°F before they can stay outside all night during hardening’s final step — that is the threshold for tomatoes, peppers, and eggplant. Cucumbers and melons can tolerate 50°F nights, but they stop growing if hardened too severely. In USDA zones 5 and 6, nights at those levels often arrive well after last frost, so expect to bring warm-season seedlings inside most evenings even as you add daytime hours outdoors. A cold frame makes that daytime stretch easier to manage, but the night thresholds still govern the final step: when warm nights run late, the last 1 to 2 days outside and the transplant date move with them. Cutting hardening short to hit an earlier planting date trades one stress for another.
One caution specific to cauliflower: over-hardening causes buttoning — the plant produces a thumb-sized head that fails to develop further. Hardening should slow growth, not stop it entirely. If cauliflower seedlings stall and look like they have stopped developing, bring them inside for a few days and then resume more gradually.
Sources
- University of Maryland Extension — Hardening Vegetable Seedlings for the Home Garden
- Penn State Extension — Hardening Transplants
- Michigan State University Extension — Proper transplant hardening off may be a deal breaker for your season
- Cornell University CALS Horticulture — Avoid Transplant Shock
- University of Nebraska Extension — Hardening Off Transplants
- NC State Cooperative Extension — Hardening Off Plants & Planting Outdoors