
How to Transplant Seedlings
Transplant cool-season seedlings — broccoli, cabbage, cauliflower, head lettuce — 2–6 weeks before your last spring frost. The warm-season group (tomatoes, peppers, eggplant) goes out only once nighttime temperatures reliably stay above 60°F. Both groups need 7–14 days of hardening off first: a week or two of gradually longer outdoor exposure that toughens an indoor-grown seedling before it has to live outside full time.
How it works
Transplant shock happens because the root ball of a young seedling is far smaller than the soil volume around it, which means it dries out faster than you’d expect. The surrounding bed might feel moist while the root mass itself is critically dry — the plant wilts even though you watered an hour ago. That dynamic is what most transplanting advice is designed to manage.
Not every crop transplants well. Root vegetables — carrots, beets, parsnips, radishes, rutabagas, turnips — should never be transplanted. Disturbing the taproot produces misshapen or forked roots, and even careful handling doesn’t prevent it. Direct seeding is the only reliable method for those crops. Peas belong in the same group. They prefer direct seeding, their seed germinates in any soil above 40°F, and the plants grow best around 55 to 65°F, so sow them where they’ll grow rather than starting them indoors. Crops that handle transplanting well include tomatoes, peppers, eggplant, cabbage, broccoli, cauliflower, and head lettuce. Cucumbers, melons, and squash sit in the middle: direct seeding works once frost danger has passed, and a 3–4 week indoor head start is what buys a bigger harvest where the season is short.
A bigger starting container speeds up recovery. A pepper in a 3-inch pot bounces back faster than one in a small cell pack, simply because it has a larger root mass going in. If you’re buying transplants, plant them within a day or two of purchase — the longer they sit outside in a small container, the harder establishment becomes.
What to do
Soak the root ball thoroughly before planting. A wet root ball makes contact with the surrounding soil and starts drawing moisture the same day.
How deep to plant
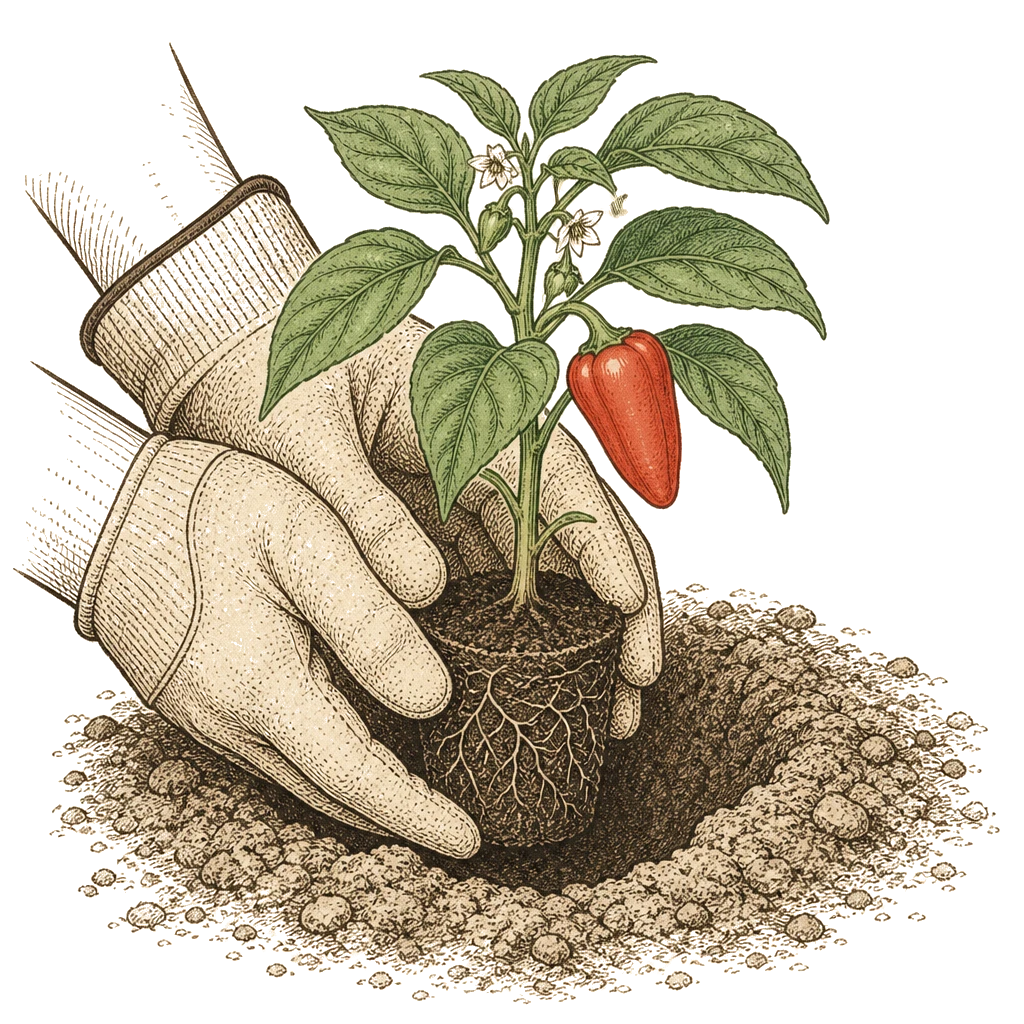
Dig the hole roughly twice as wide as the root ball and only as deep as the root mass, then set the seedling at the same depth it grew in its container.
Tomatoes are the exception. Strip the lower leaves off the stem and bury it deeper than it sat in the pot, up to the lowest leaves you left on. A buried tomato stem grows new roots along its length, and the plant ends up sturdier for it.
Bury a peat pot completely, with no rim left above the soil surface. An exposed rim acts as a wick that pulls moisture away from the root zone, and it can kill an otherwise healthy plant.
Handling the roots
If the roots have formed a tight circular mat at the bottom of the container, make a few shallow vertical cuts in the root ball before planting. This disrupts the circling pattern and encourages roots to grow outward into the bed. Handle seedlings by their leaves rather than their stems; stem cell damage is harder for a young plant to recover from than a lost leaf.
Seedlings sharing one open tray — rather than individual cells — are worth cutting apart early. Use a sharp knife to slice the soil into squares around each plant a day or two before you move them, cutting straight down to the bottom of the tray, then water the blocks thoroughly. In that time each plant puts out tiny new root hairs inside its own block, so planting day costs the seedling far less than pulling the tray apart at the last minute.
Watering and feeding after planting
Apply a starter fertilizer solution as soon as the transplant is in the hole: 1–2 tablespoons of an all-purpose fertilizer such as 20-20-20 per gallon of water, at 1–2 cups per transplant. If you can get one high in phosphorus, use that instead — phosphorus is what supports root establishment. Then water again to settle soil around the root ball, closing any air pockets.
New transplants need water every day until they establish, and it has to land directly over the root ball — a slow pour at the base of each plant, not a pass with the hose across the bed. Until the roots reach out, watering the bed wets everything except the soil that is actually dry. The signs that establishment is underway are new leaf growth and a plant that no longer wilts between waterings; until you see both, keep watering daily. Arbor’s task instructions include transplant-day watering reminders and follow-up checks for the days after, so you don’t have to track the establishment window manually.
Choosing your day
Choose a cloudy day, early morning, or evening for transplanting. Heat and direct sun during the hours right after planting add stress on top of root disturbance. Protect plants from strong winds as well, since even a steady breeze dries the leaves out before new roots can replace what’s lost. A temporary row cover or a piece of cardboard set on the windward side for the first few days is enough. If temperatures spike above 90°F in the days after transplanting, expect some visible damage; plants typically recover within about a week once conditions moderate.
Zone and season notes
In cool zones (5–6), the 60°F nighttime threshold for warm-season crops often isn’t reliable until late May or early June. Transplanting tomatoes or peppers two weeks earlier than that — even if the days feel warm — regularly produces stunted plants that stall until temperatures catch up.
Fall planting of cool-season crops uses West Virginia University Extension’s count-back instead. Start at your first expected fall frost and work backward: days to harvest, plus the length of the harvest window, plus 14 days for slower fall growth, plus about two weeks more for a frost-sensitive crop. A crop 60 days from seed to harvest, with a two-week harvest window and that frost buffer, works out to seeding about 100 days before first frost. The count starts at seeding, so a transplant goes into the ground later by however many weeks it spent in the tray.
Broccoli and cabbage are a harder timing call than tomatoes and peppers in warm-winter zones (9–11). Fall rather than spring is the cool-season growing window there, while warm-season transplants go out earlier in spring than northern gardens allow. Watch nighttime temperatures and how fast the soil is cooling rather than the calendar: the cool-season window opens on its own schedule, not the same date every year.
Sources
- West Virginia University Extension — Using Transplants in the Garden
- Cornell CALS Horticulture — Avoid Transplant Shock
- Utah State University Extension — Starting Vegetable Seeds Indoors: Seedling Culture and Transplanting
- University of Nebraska-Lincoln Extension — Hardening Off Transplants
- Penn State Extension — Starting Your Summer Vegetable Garden: Seeds or Transplants?
- Michigan State University Extension — Hardening Off Vegetable Transplants
- University of Maryland Extension — Care of Vegetable Seedlings