
How to Grow Peas
Peas are a cool-season crop: direct sow 6 weeks before your last frost date, and expect pods in roughly 60 days. The window is narrow — plants stop producing once daytime temperatures climb past 85°F, and seeds will not germinate until the soil reaches 40°F. Get seed in the ground early enough that plants mature before summer heat shuts them down.
How it works
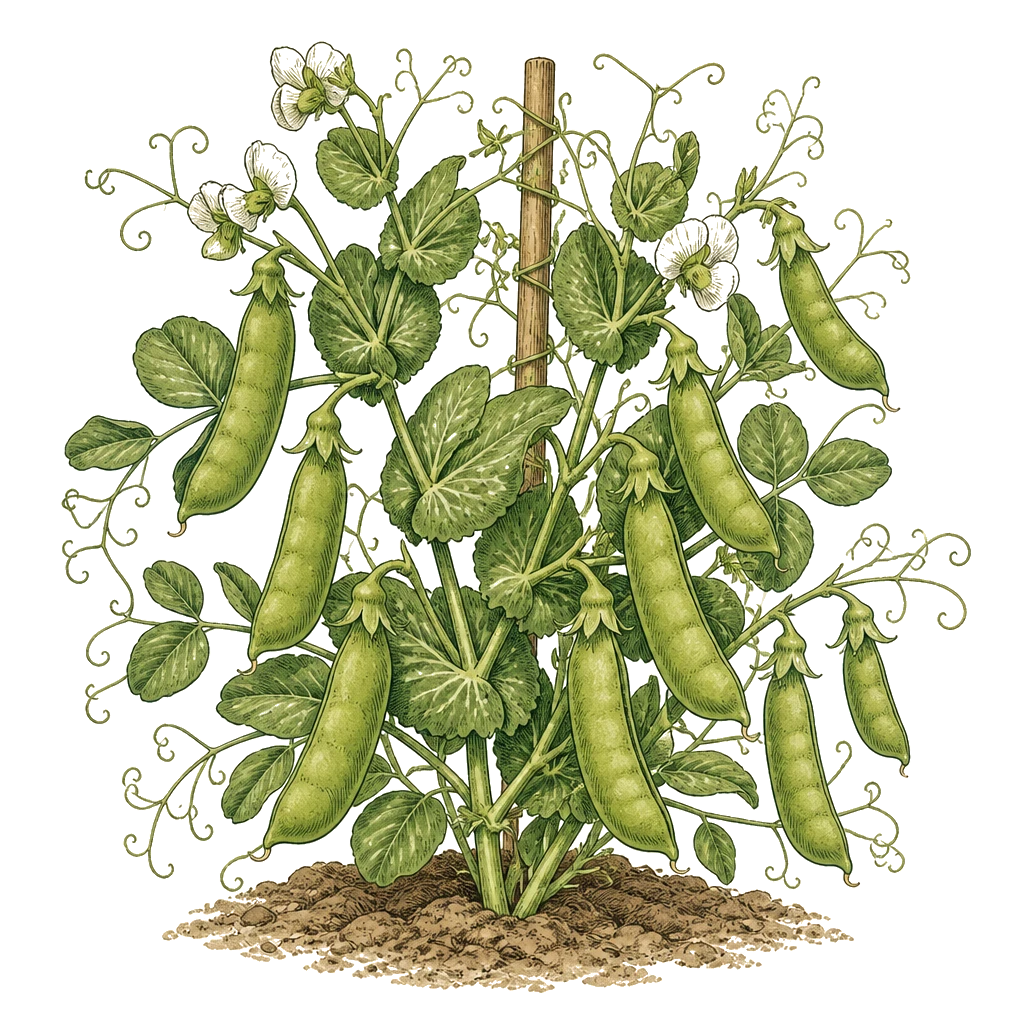
Nitrogen-fixing bacteria in the root nodules do the fertilizing work, pulling nitrogen from the air, which is why extension programs consistently recommend very light fertilizing. Excess nitrogen pushes leafy growth at the expense of pod set. A balanced starter worked into the bed before sowing is usually sufficient; the mid-season side-dress that most vegetables need is not called for here. In beds where peas or beans have not grown in recent years the bacteria may be absent — coating seeds with a legume inoculant, sold near seed packets, before sowing establishes the population from the start.
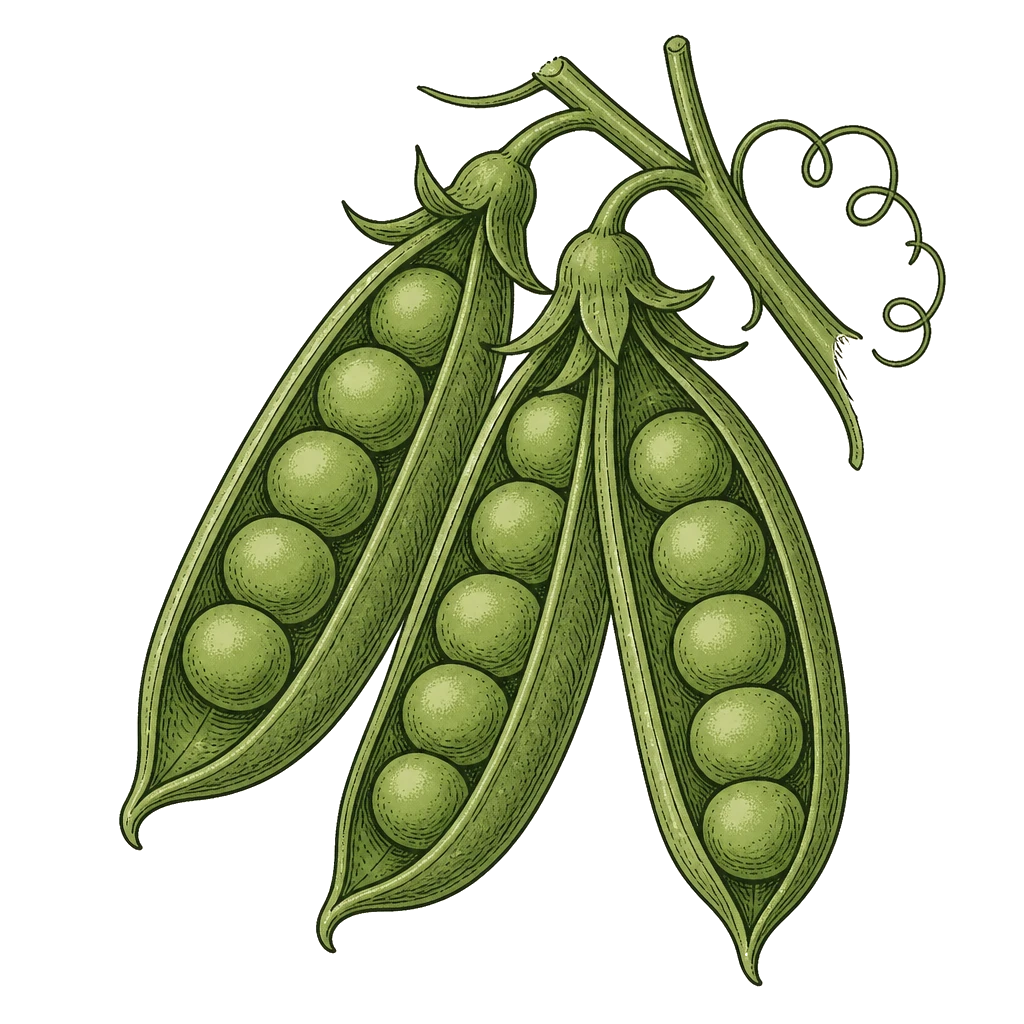
The three types differ more than people expect. Snow peas are harvested when pods are flat and thin, before seeds develop visibly inside — the whole pod is the point. Snap peas are picked when pods round out and feel plump, but pod walls stay tender and the skin is still bright. Shelling peas (also called garden or English peas) are left until peas inside the pod swell fully and press against the pod wall; you eat only the seeds. Left on the vine too long, shelling peas turn tough and starchy. For a first planting, snap peas are the most forgiving: the harvest window is wider than shelling peas and the whole pod is edible, so a day or two of delay does not cost you the crop. Choose shelling peas if you want peas to freeze or cook down, snow peas for flat, quick-cooking pods.
Support structure is the other early call. Bush varieties top out at 18–24 inches and can prop each other up in dense plantings without staking. Vining varieties reach 3–6 feet and need trellis netting, wire mesh, or strung stakes. Install support at sowing time, before seedlings emerge — disturbing tender vines after they start to climb sets them back.
What to do
Sow as soon as the soil can be worked. Plant seeds 1–2 inches deep, initially 2–3 inches apart in the row, thinning to 4 inches as seedlings establish. Peas germinate in soil above 40°F, which means they go in weeks ahead of warm-season crops. For direct-sow technique, see how to direct sow vegetable seeds.
Put up support before you sow for vining types. Run trellis netting or string along stakes at 3–6 feet high, matching the expected variety height. Vines reach for something as soon as they begin to climb; a late-installed support tangles plants and delays establishment.
Water consistently, about every 4 days. Peas have medium water demand: keep the root zone evenly moist from germination through pod fill, and do not let it dry out during flowering or the pods may abort. Once daytime temperatures pass 80°F, water more often, since cool-season roots dry out faster in heat. Consistent moisture matters more than volume — soak the bed rather than saturating it.
Go light on fertilizer. Work a general-purpose fertilizer into the bed before planting only if the soil has not been amended recently or a previous crop grew poorly; if you are unsure, a soil test is the reliable check. After seedlings emerge, root nodules handle the nitrogen load. Once plants are established, added nitrogen drives leafy growth rather than heavier yields.
The cool season gives you two or three rounds at most, so succession sow every 2–4 weeks to widen the harvest window. Even two plantings spaced three weeks apart meaningfully staggers the harvest.
Mulch 2–3 inches deep once seedlings are established. Keeping the soil cooler under a mulch layer can add days — sometimes weeks — to the productive season when summer warmth arrives on schedule. When you add peas in Arbor, it puts a once-per-season mulch task on your list timed to shortly after thinning, because it is the single most effective step for extending the harvest window before heat shuts production down.
Harvest frequently, reading cues by type. Snow peas: pick when pods are flat, bright green, and peas inside are barely perceptible. Snap peas: when pods are plump and rounded, still bright with no yellowing. Shelling peas: when the pod is well-filled and individual peas feel distinct through the pod wall. Daily picking during peak production keeps plants setting new pods. For techniques that avoid damaging the vine during harvest, see how to harvest vegetables.
Rotate beds and watch for common problems. Do not plant where peas or beans grew in the previous 3 years — fusarium wilt persists in the soil between host crops. Powdery mildew moves in as plants age and airflow tightens; thinning and spacing matter more than spraying. Aphids cluster on growing tips and can transmit pea enation mosaic virus, which deforms pods and has no cure once it takes hold. Knock colonies off with a strong spray of water at first sight, and check new growth weekly during cool weather when colonies build fastest. If deformed pods appear, pull the affected plants and discard them in the trash, not the compost.
Zone and season notes
Zones 3–5: Spring is the only reliable season. Direct sow in March or April, depending on last frost date, aiming to get seed in the ground 6 weeks before that date. The fall window before hard frost is too short to complete a 60-day crop.
Zones 6–7: Spring is the primary season. Fall planting works if you sow by late August, giving the crop about 60 days of cool weather before frost arrives. University of Maine Cooperative Extension finds fall snow peas particularly reliable where the cool season runs into October.
Zones 8–9: The spring window is short — heat arrives fast in late spring. Fall planting, with seeds sown in August or September, is often more productive than spring. In zone 9, where hard frost rarely arrives before December, the limiting factor is the return of warmth rather than frost: sow by early September and aim to harvest through November.
Zones 10–11: Spring planting is not viable. Sow October through November for a December through February harvest, working through the mild winter season. Mulch is especially important in these zones for moderating soil temperature during warm spells within the cool season.
Sources
- University of Minnesota Extension — Growing Peas in Home Gardens
- University of Maryland Extension — Growing Green Peas in a Home Garden
- Utah State University Extension — Peas in the Garden
- Penn State Extension — A Gardener's Guide to Peas
- Clemson HGIC — Garden Peas
- Iowa State University Extension — Growing Peas in Iowa
- WSU Extension — Growing Green Peas in Home Gardens (FS116E)
- University of Maine Cooperative Extension — When to Plant Snow Peas for Fall Crop