
How to Grow Tomatoes
Tomatoes need at least 6–8 hours of direct sun per day, consistent soil moisture of about 1 inch per week, and soil that’s warmed past 60°F before you plant. Miss any one of those three consistently and no amount of fertilizer or pest spraying will compensate; get them right and most of the rest is maintenance. The one varietal choice that still decides your harvest is days to maturity — the figure on the seed packet or plant tag — which has to fit your frost-free window.
How it works
Frost kills tomatoes outright at 32°F, but the yield damage starts well above freezing. Flowers abort when night temperatures drop below 50°F or daytime highs exceed 95°F, so transplant timing is a yield question, not just a survival question. A stall like this is temporary — most plants set fruit again once the weather eases. Fruit also needs a thermal window to color correctly: red pigments don’t form above 90°F, so tomatoes ripening in a heat wave come off the vine orange or yellow.
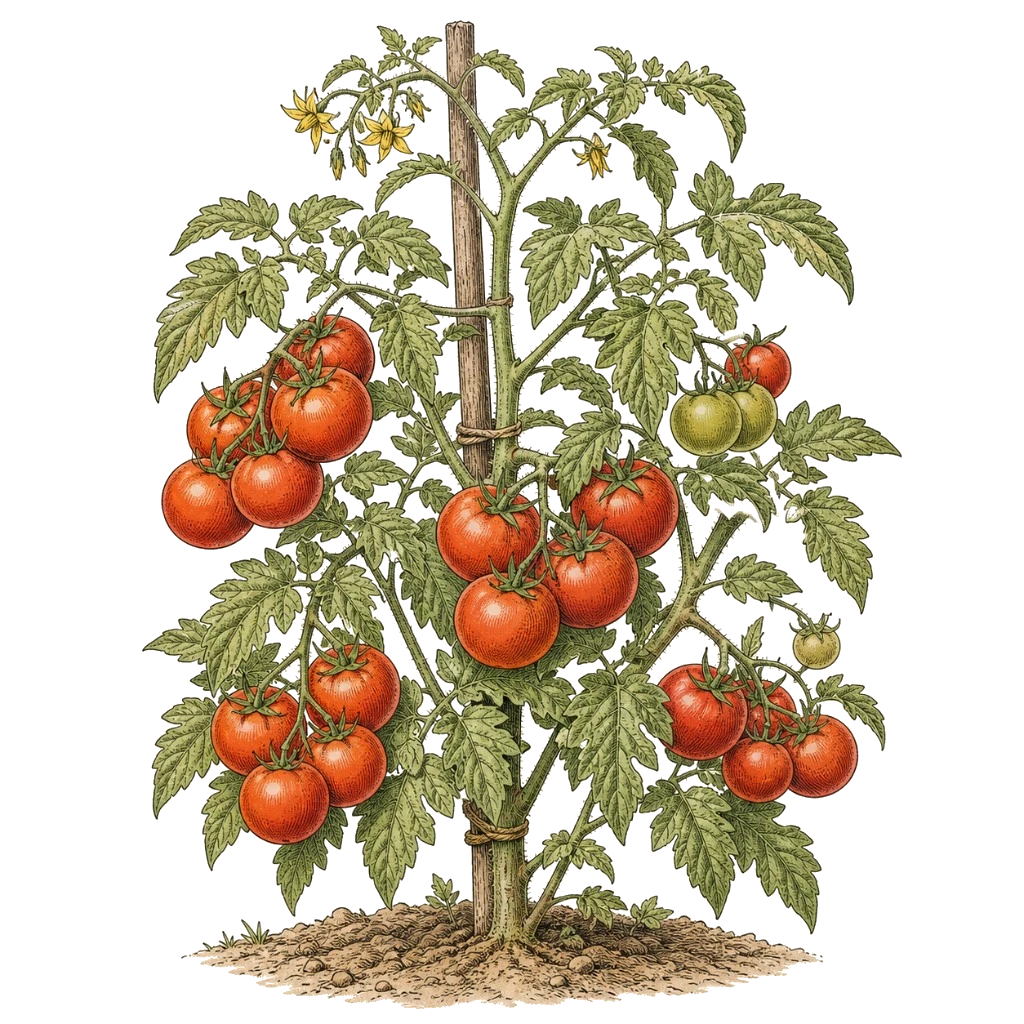
Support, pruning, and harvest expectations all turn on one distinction: determinate versus indeterminate. Determinate (bush) types top out at 1–5 feet, ripen their fruit in a 4–6 week window, then stop. Indeterminate (vining) types run 5–8 feet and keep setting fruit until frost.
Home growers blame blossom-end rot and fruit cracking on soil or weather more than any other two problems, when the cause is almost always erratic soil moisture — soaking after a dry spell stresses the fruit. Calcium deficiency plays a role in blossom-end rot, but the calcium was already in the soil; inconsistent moisture kept the roots from taking it up. Fruit already showing rot or cracks won’t heal; cut away the damage and eat the rest. Once your watering stabilizes, new fruit sets clean. See blossom-end rot on tomatoes for the full picture.
What to do
Start seeds or buy transplants. Your outdoor planting date is the point after your last frost when soil has warmed past 60°F; the zone notes below give it region by region. From seed, sow 5–6 weeks before that date, 1/4 inch deep in sterile soilless mix. Hold 80°F for germination, then drop to 65–70°F once seedlings emerge. The ideal transplant is 6–10 inches tall with 5–7 leaves, and starting indoors buys roughly 4 weeks over direct seeding. Bought or homegrown, harden seedlings off over 7 to 14 days of graduated outdoor exposure before they go in the ground — hardening off has the day-by-day schedule.
Prepare the soil before you plant. Work 2–3 inches of compost into the top 6–9 inches and target a pH of 6.0–6.8. Without a soil test, work in about 1.5–3 pounds of ground limestone across a 4×8 bed (5–10 pounds per 100 square feet) a few weeks ahead. At planting, apply a starter solution of 3–4 tablespoons of 8-8-8 or 10-10-10 per gallon of water, limited to 1 cup per transplant.
Plant deep, then space and support. Bury the stem right up to the lowest leaves; roots form along the buried portion and the plant establishes faster. Spindly transplants can go in on their side in a 2–3 inch trench with only the top leaf cluster showing, and cover any peat pot with at least 1 inch of soil. For spacing, staked indeterminate plants want 1.5–2 feet apart in the row, caged plants 2–3 feet, with rows 3–4 feet apart if you have room for more than one; a narrower bed takes a single row. Determinate types can go 1.5–2 feet apart. Set stakes 6 feet tall, driven 8–10 inches deep before the roots spread and 3–5 inches from the stem. For wire cages, 5.5 feet of concrete reinforcing wire in an 18–20 inch circle works well.
Water consistently and at the base. Soak 6–8 inches deep at roughly weekly intervals rather than shallowly every day. Baseline is 1 inch per week, rising to about 1.5 inches during active fruiting; arid Western gardens run 1–2 inches. Water at the base — overhead irrigation splashes soil onto leaves and spreads Septoria leaf spot and early blight.
On an established plant, wilting that persists into evening, yellowing lower leaves, or dropped flowers usually points to water, not disease. Probe the soil an inch down before reaching for a spray; if it’s dry, lengthen the soak rather than watering more often.
Once first fruits reach about 1 inch across, side-dress each plant: scatter 1/2 cup of 5-10-5 or 2–3 tablespoons of 8-8-8 in a band 4–6 inches out from the stem. Repeat at first harvest. Shift away from high-nitrogen formulas after set; excess nitrogen grows a larger plant with fewer tomatoes. Suckers are the shoots that sprout where a branch meets the main stem. Pull them off indeterminate plants before they reach 3 inches, holding the vine to the one or two stems you tie to a 6-foot stake. That matters most on staked plants, less in a cage. Determinate types need little pruning; if you remove suckers, wait until they reach 2–4 inches. Mulch 2–4 inches deep once the soil is consistently warm, not before: cold, wet mulch slows warm-up, the opposite of what young transplants need.
When you add your tomatoes in Arbor, the side-dress reminder lands when fruit actually sets rather than on a fixed calendar date, and the watering schedule shifts with your soil type and the current forecast.
Pick ripe, then clear the vine before frost. Tomatoes are ready when they have ripened fully on the vine but are still firm — dark red on most varieties, though some ripen to other colors. Before the first frost, bring in everything still hanging: solid, firm fruit that’s already turned greenish-white will finish ripening indoors at 60–65°F in a dark spot. Ripe fruit holds 5–6 days at room temperature; the refrigerator buys only a few days and costs texture and flavor.
Zone and season notes
Northern tier (zones 3–4, Minnesota and similar): Start seeds indoors around mid-April and transplant after mid-May when the frost-free window opens. Use short-season varieties in the 49–50 day range to harvest before September frosts. Early Girl (50 days) and similar extra-early types were bred for this constraint.
Midwest (zones 5–6, Iowa and similar): Transplant early to mid-May. Iowa State sets a hard cutoff of June 20 for last planting — anything later won’t mature before fall frost.
Mountain West (zones 5–7, Utah and similar): Wait for confirmed soil above 60°F before transplanting. Plan for 1–2 inches of water per week — more than the Midwest baseline, because dry Western air pulls moisture from soil faster. Delay organic mulch until soil exceeds 75°F.
Hot climates (zones 9–11, Southwest and Southeast): Expect flowers to drop above 90–95°F, with fruit set stalling for weeks in midsummer heat. Plant in early spring for a harvest before peak heat, or in late summer for a fall crop; a plant that stalls in July is not failing and typically resumes as nights cool. Choose heat-tolerant varieties, and expect fruit ripening during heat waves to show orange rather than full red. Puckered scarring at the blossom end — catfacing — comes from pollination disrupted by cold. Those tomatoes are safe to eat, and so is fruit with minor cracking.
All regions: To set your last transplant date, count your variety’s days to maturity (49–85 days across the common range) back from first fall frost — the June 20 cutoff above is that same math on a short Midwest season.
Sources
- University of Minnesota Extension — Growing Tomatoes in Home Gardens
- NC State Extension — Growing Tomatoes in the Home Garden
- Rutgers NJAES — FS678: Growing Tomatoes in the Home Garden
- Utah State University Extension — How to Grow Tomatoes in Your Garden
- Iowa State University Extension — Growing Tomatoes in the Home Garden
- Clemson Cooperative Extension HGIC — Harvesting Vegetables
- University of Maryland Extension — Hardening Vegetable Seedlings for the Home Garden