
How to Check Your Garden for Pests
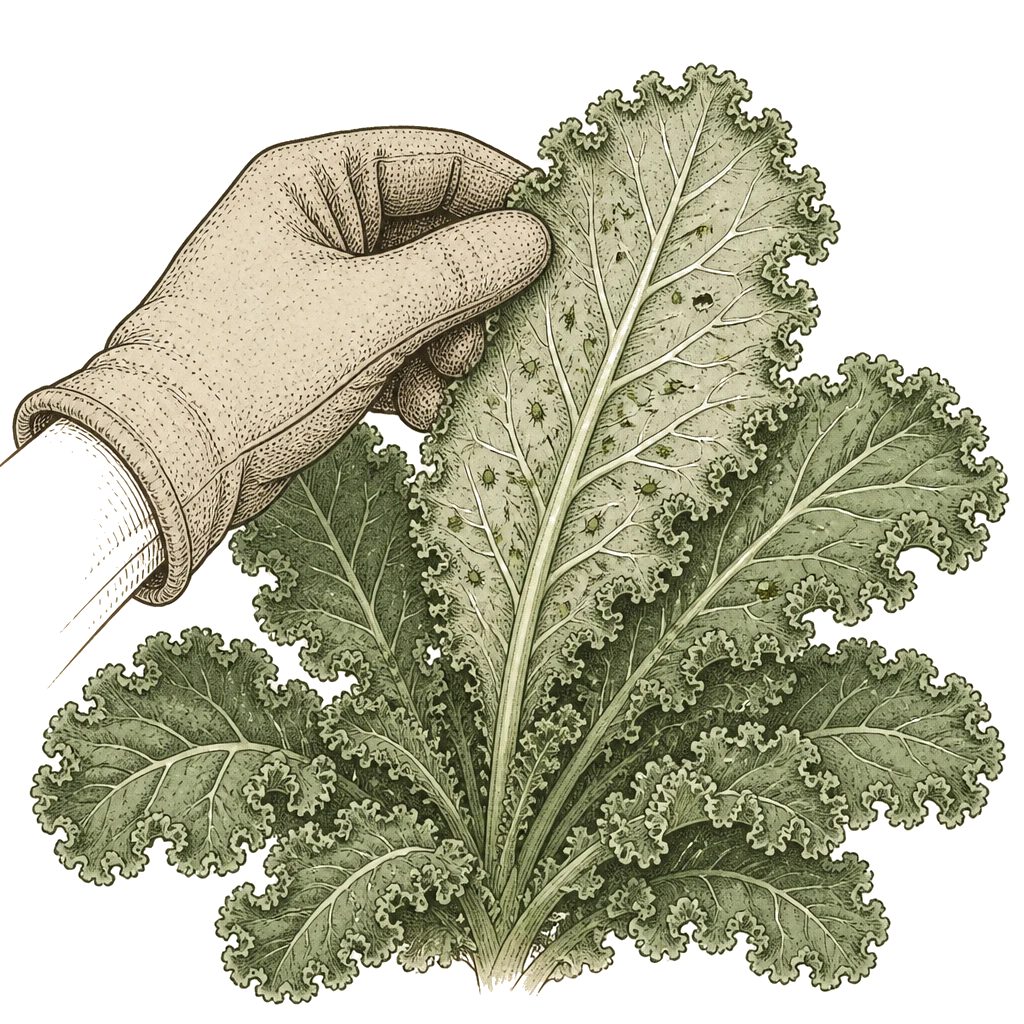
Once a week is enough. Walk the beds, flip some leaves, scan the stems — ten focused minutes will catch most problems while they’re still small enough to handle without sprays. When you find something, your first step is identification — a pest photo or sample — before deciding whether treatment is even needed. The goal, per Clemson’s IPM program, is not zero insects. It’s keeping populations below the level where they cause meaningful damage.
How it works
Pest scouting is the foundation of integrated pest management (IPM): you observe before you act, and you act only when populations cross a threshold where damage is actually likely. The alternative — spraying on a calendar schedule or at the first sign of any insect — kills beneficial insects along with pests and often makes outbreaks worse in the long run.
Most pest damage shows up first on the underside of leaves, at growing tips, along stem bases, and on developing fruit. Many of the insects doing that damage are too small to identify without magnification. A 10X hand lens costs a few dollars and is the single most useful tool in a scout kit; Penn State Extension recommends carrying one, and Clemson HGIC suggests rounding out the kit with a pen, paper, small pruners, and zip-top bags for collecting samples.
The reason extension programs emphasize thoroughness over a quick glance: populations are distributed unevenly across a bed. University of Maryland Extension’s scouting guidance calls for checking 5 to 10 locations spread across the garden — covering 50 or more plants if you have them — rather than drawing conclusions from one or two spots. A W-shaped walk pattern through the bed gets you coverage across different microclimates and planting densities.
What to do
Time it to the pest: go out mid-day if you’re looking for beetles like cucumber beetles or flea beetles — they’re most active in the warmth of the afternoon. For snails and slugs, check in the early morning or after rain when they’re still moving.
Walk the beds: move in a W-pattern to sample different sections rather than touring just the perimeter. At each stop, flip leaves and examine both surfaces. Aphids, spider mites, and whiteflies concentrate on leaf undersides — aphids and whiteflies in visible clusters, mites as fine stippling with a dusty look that becomes obvious under a hand lens. On nightshades, examine the growing tips and undersides of mid-canopy leaves for tomato hornworm egg masses and early-instar caterpillars. Along cucurbits, check leaf undersides and stem junctions for squash bug egg clusters — copper-colored, laid in tight rows.
Beat sheet method: for small mobile insects, shake plant material over a sheet of white paper or a piece of white plastic (a clipboard with blank paper works; so does any light-colored tray from the kitchen). This is especially effective for beans, where it reveals small mobile insects — thrips, mites, and beetles — that otherwise go unnoticed. Count what you catch.
Sticky traps: yellow sticky cards attract flying insects. University of Maryland Extension recommends placing at least 1 card per 1,000 square feet at canopy height for monitoring. Check and record catches weekly, rotating card placement consistently so your counts are comparable over time. Thrips on sticky cards have a threshold: Penn State Extension puts the treatment threshold at 1 thrip per leaf (or 3 per leaf if using the insecticide Radiant specifically).
When to act: treatment thresholds exist because some damage is tolerable. Penn State’s vegetable IPM guidance suggests treating cole crop seedlings at 10 to 20% plant infestation, dropping to 5% at heading when appearance matters. For beans, the threshold is roughly 20% defoliation or 1 beetle per plant. These are commercial baselines — home gardeners often tolerate a bit more — but they give you a calibration point. A practical home-garden trigger: if more than one in four plants shows active feeding and the population appears to be growing from week to week, that’s the point to act. When you do return to treated areas, wait 24 to 48 hours to assess whether a spray actually worked before reapplying.
Document what you find: a brief note — date, crop, pest, rough count — turns your weekly walk into a record. Patterns emerge over seasons: which crops attract which pests, which weeks pressure spikes. If you log pest observations in Arbor, it creates a follow-up treatment task and links to the relevant pest guide so the next step is already queued.
Zone and season notes
In zones 9–11, scouting has no real off-season — aphids and whiteflies cycle year-round. In zones 5–7, the clock usually starts once nighttime temperatures hold above 50°F. Penn State Extension points to region-specific pest-emergence tools like Pest Watch and NEWA (Network for Environment and Weather Applications), which can tell you when to expect first flights and egg hatch in your area, beating a fixed calendar.
Spider mites are a hot, dry-climate problem: they build up fastest at garden edges and in beds with low humidity or dusty conditions, making them a bigger priority in arid zones (8–11) than in humid northern gardens. In cool-summer climates (zones 5–7), caterpillar pressure from tomato hornworms typically peaks mid-summer; in the South and Southwest, a second generation can push pressure well into fall. Squash bugs and cucumber beetles emerge earlier in warm zones and may require scouting to begin as soon as transplants go in. In mild-winter zones (9–11), aphids and whiteflies cycle nearly year-round, so the weekly scouting habit has no real off-season.